About SuGO™
SuGO™ Rules
SuGO™ Downloads
- - The Essentials
- - EV3 S/W
- - NXT S/W
- - Game Sheets
SuGO™ Community
- - Free Resources
- - SuGO™ Science
- - Build Plans
- - Grants
 Join us on Facebook! |
Competition TipsThere are only a few items that are truly "required" to run a SuGO competition. These are:
The sizing box is important to ensure that each participant's robot is within the legal size requirement. Attempting to use a ruler or other measuring device is difficult, and often open to interpretation. The sizing box can be constructed from metal, plastic or wood, but it should be sufficiently rigid to ensure that the robot does not deform it during testing. The box can either be an open tube, or it can have a bottom. Match brackets are needed to run the double elimination competition. Competitions with 4 or 8 teams are easy to schedule, but other odd numbers can be more difficult. Brackets can be run using tournament software or simple bracket sheets where teams are written in, and matches scored by hand. A scale is required to limit the amount of extra weight that teams add to their SuGObot for traction. Most postage scales can be used, but ensure that yours can measure up to two pounds. A variety of Forms, Checklists & Certificates can be used to streamline a SuGO competition. We have provided a printable set of such forms here for free download. Note: All of these items (except the Scale) can be purchased from the SuGObot store as a Field Kit. This kit includes electronic versions of other useful forms, checklists and certificates that can be customized for your event. This package includes a team check-in sheet, robot inspection sheet, table tents and award certificates.
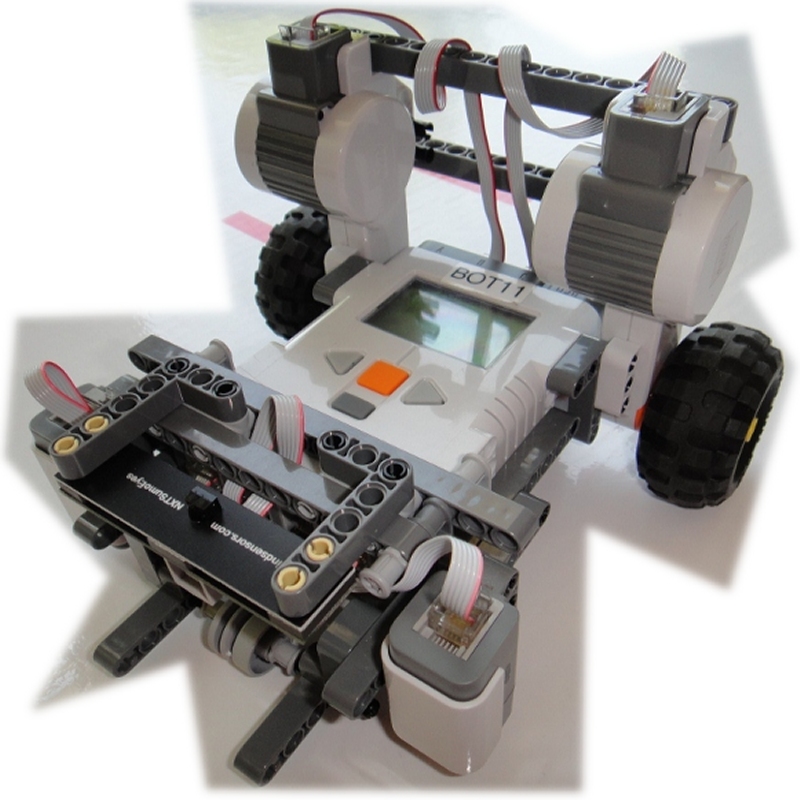
Robot Building TipsWe find that it's best to construct your SuGO bot in a series of steps.
|